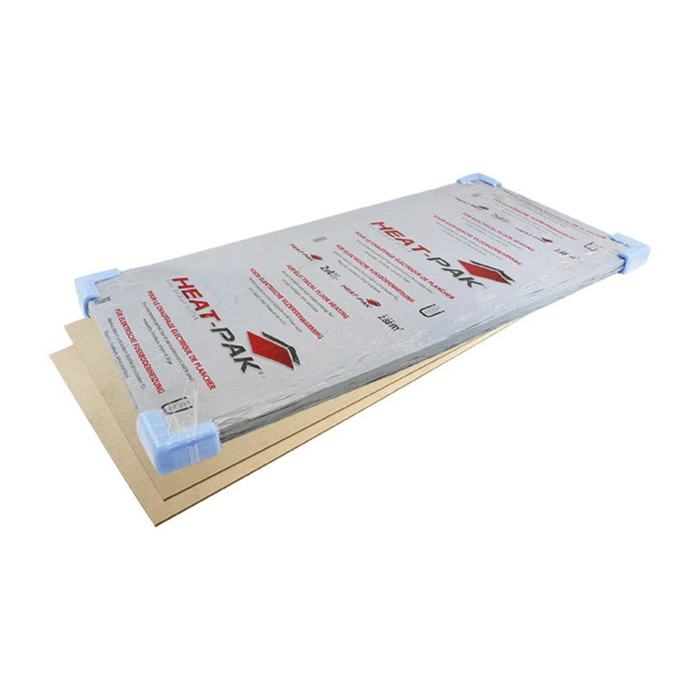
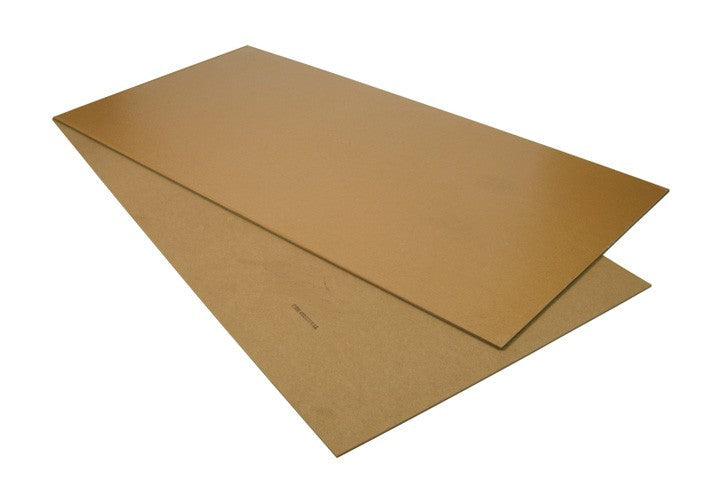
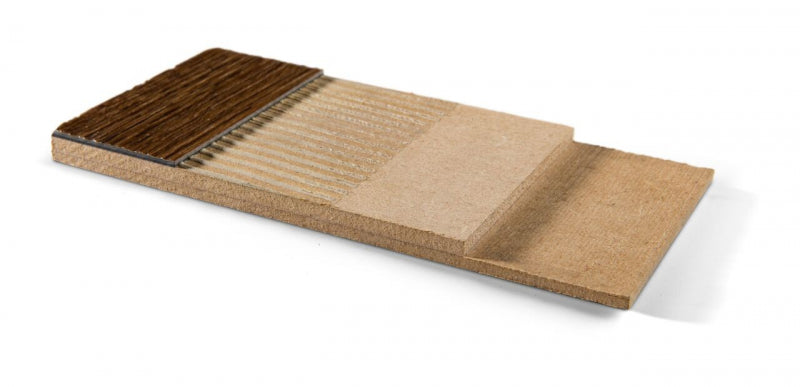
Product Description
Most stable overlay system for all types of floor heating
Heat Pak Dual Overlay must NOT be used in bathrooms, wetrooms, en-suites or any other wet areas as they will expand upon contact with moisture. If installing carpet or vinyl in any of these areas, you must use an underfloor heating mat with self-levelling compound. Please speak to technical for further details.
Heat-Pak® is a free floating sub-floor specially designed for installation over all types of floor heating systems. This innovative system provides a very smooth, stable base onto which all kinds of floor-coverings can be laid directly. The twin layers of Heat-Pak® panels utilise an overlap joint configuration to produce a seamless surface and prevent lines from ghosting through shiny floor finishes. Heat-Pak® creates the ideal sub-floor for carpet, linoleum, vinyl and cork etc.
Heat-Pak® is very simple to install and much quicker and easier to use than a traditional smoothing compound. It is also an entirely dry process so it is much cleaner and requires no setting time which allows the flooring to be laid immediately. Heat-Pak® makes the installation of electric cable, mat, foil or film systems far easier than using the wet screed method. Only small amounts of adhesive tape are required to hold the elements in position until the Heat-Pak® panels are laid on top ensuring that the entire heating system remains permanently flat and safely protected underneath the finished floor.
The very low thermal resistance of Heat-Pak® enables your valuable heat energy to pass quickly and easily through to the surface for a fast warm up time and maximum comfort. Heat-Pak® also provides for the inclusion of a suitable insulation layer below electric systems for optimum efficiency.
Heat-Pak® is composed of high quality MDF and the 3mm baseboards and 4mm topboards are each coated with a special interactive contact adhesive to give a strong, permanent full-surface bond. Strict quality controls during production guarantee excellent results and a trouble-free installation every time.
- Overlay for all kinds of floor heating
- Very low heat-resistance (Rm value of only 0,047)
- Very stable, floating sub-floor
- Perfectly smooth surface for carpet, linoleum and cork
- Dry, dust-free installation
- Easy and quick to fit
Specification
Size | 1200mm x 600mm |
---|---|
Top Board Thickness | 4mm |
Base Board Thickness | 3mm |
Composition | MDF, fitted with an interactive adhesive |
Density (kg/m3) | 770 |
Bending Strength kg/cm2 | >40 |
Humidity (%) | 4-10 |
Thermal Rm value [m2.K.W.-1] | 0.047 |
Fire Class, DIN4102 | B2 |
Installation
Baseboard

- The first row of baseboards is created by splitting boards in half lengthways and turning the cut edges towards the wall.
- The first piece is shortened to 3/4 of its length with both cut edges against the walls in the corner. Lay out the other pieces end to end in a line along the wall, adhesive side up, leaving the protective film in place
- Leave an expansion gap of 8-10 mm all around the perimeter and around pipes and other fixed objects, this also applies to the final floor finish.
- Boards in the second row are laid out in the same direction as the first row.
- Start by cutting a board to 1/4 of its length and place this piece, with the cut end to the wall, next to the first row.
- Now place a full sized baseboard end to end with it and alongside the first row. The large off-cut will be used to start the third row of baseboards.
- Do not remove the protective film at this stage and keep the job clean and free from dust.
Top Boards

- The top boards are laid in the same direction as the baseboards, but with the adhesive side down. The first board of this row is full size and positioned into the corner overlapping both the first and second rows of baseboards.
- If the board fits neatly into the corner no trimming is required, in which case it can be lifted out and the plastic film can be peeled back from the baseboards that it will cover.
- Avoid removing more film than is necessary to accommodate the top board on the adhesive. The top board is carefully repositioned and adjusted for alignment, at the same time the baseboards should be checked for any gaps and adjusted if required; finally the top board is fixed in place by tapping down with the rubber mallet.
- For the best result it is important to keep the joints between the top boards as tight as possible. The easiest way to achieve this is by starting the second row of top boards with a half-length piece, followed by a full board and pushing all the edges tightly together before tapping down.
- Adding further boards, alternately, to the first two rows keeps the lines straight and so prevents gaps from developing.
- Due to possible influences of air humidity, glue the floor covering on the Warmup® Dual Overlay no later than 48 hours.
- Every room should be fitted separately, leaving an expansion gap of at least 8 -10 mm and 16mm in door openings when Warmup® Dual Overlay is continued in the adjoining area.
- If the floor covering is to be glued onto the total surface and should not to exceed the edges of the Warmup® Dual Overlay Boards.
- This method of installation will provide a stable surface for the floor finish to rest on and avoid any joints showing through the final floor finish.
Finish

Now you have installed the Warmup® Dual Overlay boards you can either glue your final floor finish to the boards as a final layer or simply lay it freely upon them. Before installing the final floor finish test the Warmup® foil heater(s) and floor sensor to ensure that no damage has occurred during the installation.
This method of installation will provide a stable surface for the floor finish to rest on and avoid any joints showing through the final floor finish. Now you have installed the Warmup® Dual Overlay boards you can either glue your final floor finish to the boards as a final layer or simply lay it freely upon them. Before installing the final floor finish test the Warmup® foil heater(s) and floor sensor to ensure that no damage has occurred during the installation.